Warcraft Hentai Heroes
Hottest
Newest
English
English
Deutsch
Français
Italiano
Русский
Español
Türkçe
Vietnamese
日本語
中文
한국어
ภาษาไทย
हिंदी
العربية
Warcraft Hentai Heroes
Hottest
Newest
Categories
Futanari comics
Hardcore rape
Huge balls
Jaina proudmoore
Midget fuck
Monster cock
Bukkake
Furry porn
Zombie sex
Demon girl
Dickgirl on male
Sexy catgirl
Alien girl
Vampire hentai
Sex toys
Draenei hentai
Angel sex
Bodysuit
Minotaur hentai
Futa on futa
Dark skin
Double anal
Amputee
Bondage
Tentacle toons
Yuri pics
Inflation toons
Guild wars
Cowgirl
Anal sex
All the way through
Autofellatio
Footjob
Stomach deformation
Human fuck furry
Orc porn
Demons souls
Femdom
Double penetration
3D warcraft sex
Alexstrasza xxx
Sexy stockings
Xray sex toon
Giantess
Piercing cartoons
Pregnant hentai
Monster sex
DoTA and WoW
Horny Tauren
Fairy fuck
Corruption of champions
Deep sucking
Sylvanas windrunner
Snake girl
Warcraft shemale
Sex with slime
Ysera porn
Wolf girl hentai
Goblin sex
Lactation
English
English
Deutsch
Français
Italiano
Русский
Español
Türkçe
Vietnamese
日本語
中文
한국어
ภาษาไทย
हिंदी
العربية
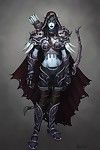
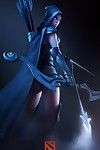
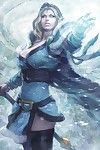
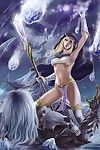
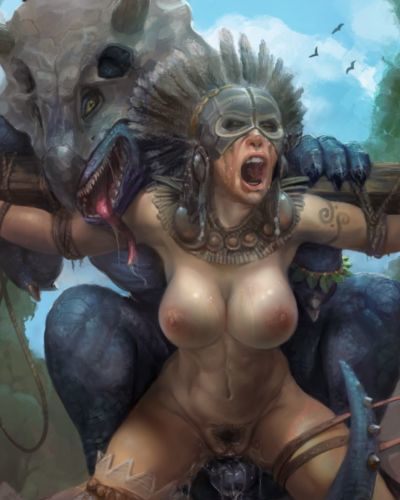
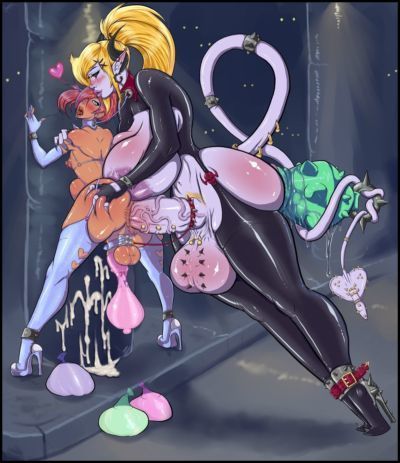
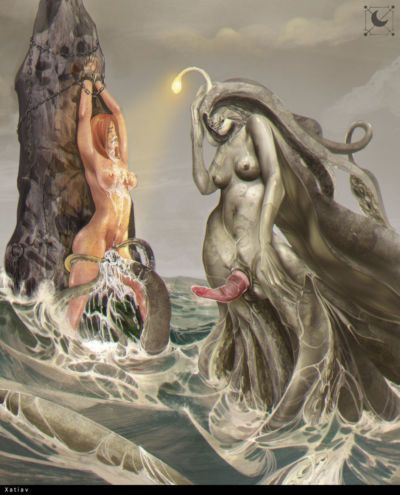
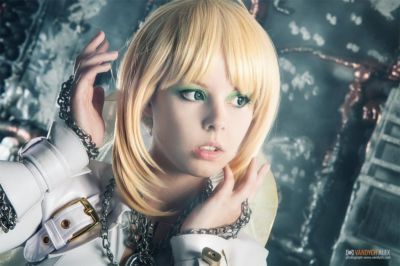
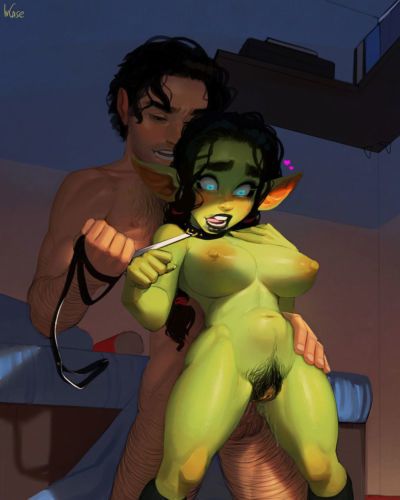
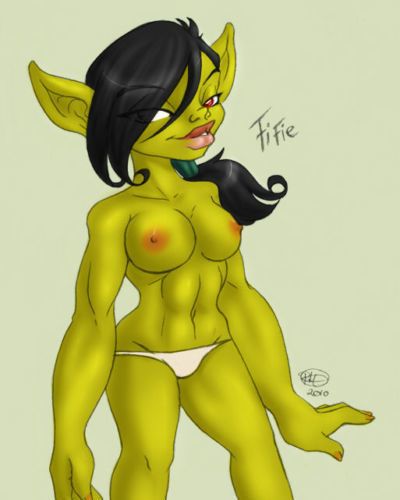
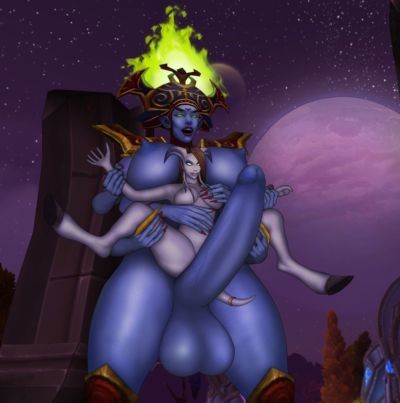
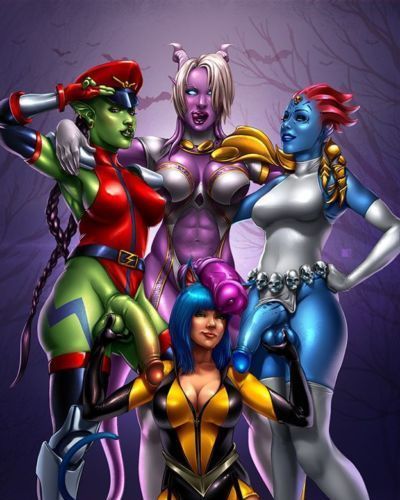
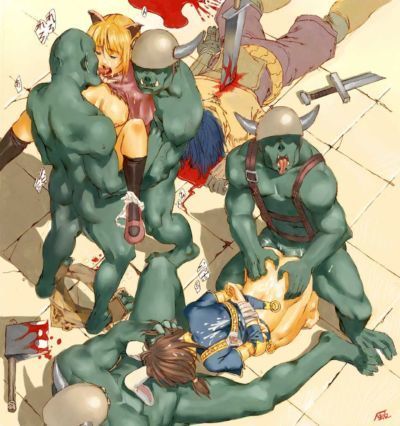
D.O.T.A Gallery - part 2
part: 2/5
1
2
3
4
5
Previous part
Next part
Open slideshow
part: 2/5
1
2
3
4
5
Previous part
Next part
Heroes:
sylvanas windrunner
Tags:
Demon girl
World of warcraft
Defense of the ancients
Sylvanas windrunner
Title:d.o.t.a gallery
XXX World of Warcraft Porn
Artist - antumbrae
artist - Saatana aka Doomsatan666
artist - 34san - part 7
-Artist- GunnmX
uthstar01s Gallery - part 4
Artist-Personalami
Futanari Girls 2 - part 7
Artist - Xatiav
Cosplay - part 2
Goblin Girls - part 3
VincentCC Art - part 10
Orcs - part 2
Amy & Yuna
Hizzacked - part 4
Artist - VincentCC - part 6
Goblin Girls - part 10
Monsters and Tentacle or Tenacle and Monsters and What Not - part 8
DrawnToBondage Images Pack
Goblin Girls - part 9
futanari folder - part 11
World of Warcraft Mixed Futanari/Shemale and Traps - part 33
Artist - Schmierfink - part 2
Goblin Girls - part 38
Artist - Aka6 - part 18
ARTIST Vampireon - part 4
artist - 34san - part 5
Artworks by VincentCC - part 13
Artist - Vempire - part 6
my warcraft collection - part 4
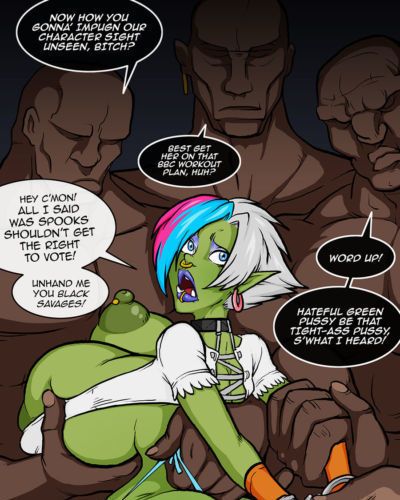
A Very Vemmy Lesson in Racism
part: 2/5
1
2
3
4
5
Previous part
Next part
Swipe
Click to hide
×